Saturday, September 24, 2016

BonBon Bears!!


Stephanie Jessica Lau from AllAboutAmi.com released her new pattern for these adorable little bears! I love tiny teddy bears, and I knew I had to make these little guys. The yarn Stephanie used was Lion Brand's Bonbon Cotton yarn, but I decided to use my favourite yarn, Patons Grace mercerized cotton yarn in the colours Peacock, Ginger, and Azure with my 2.00mm Clover Amour crochet hook.

I recently ran out or plastic safety eyes, but I did have some black beads that I could sew onto my amigurumi to make eyes.
This was my first time sewing black beads as eyes as I am always using plastic safety eyes for my amigurumi since they are easier to attach.
To practice, I sewed on the beads to a scrap crocheted square
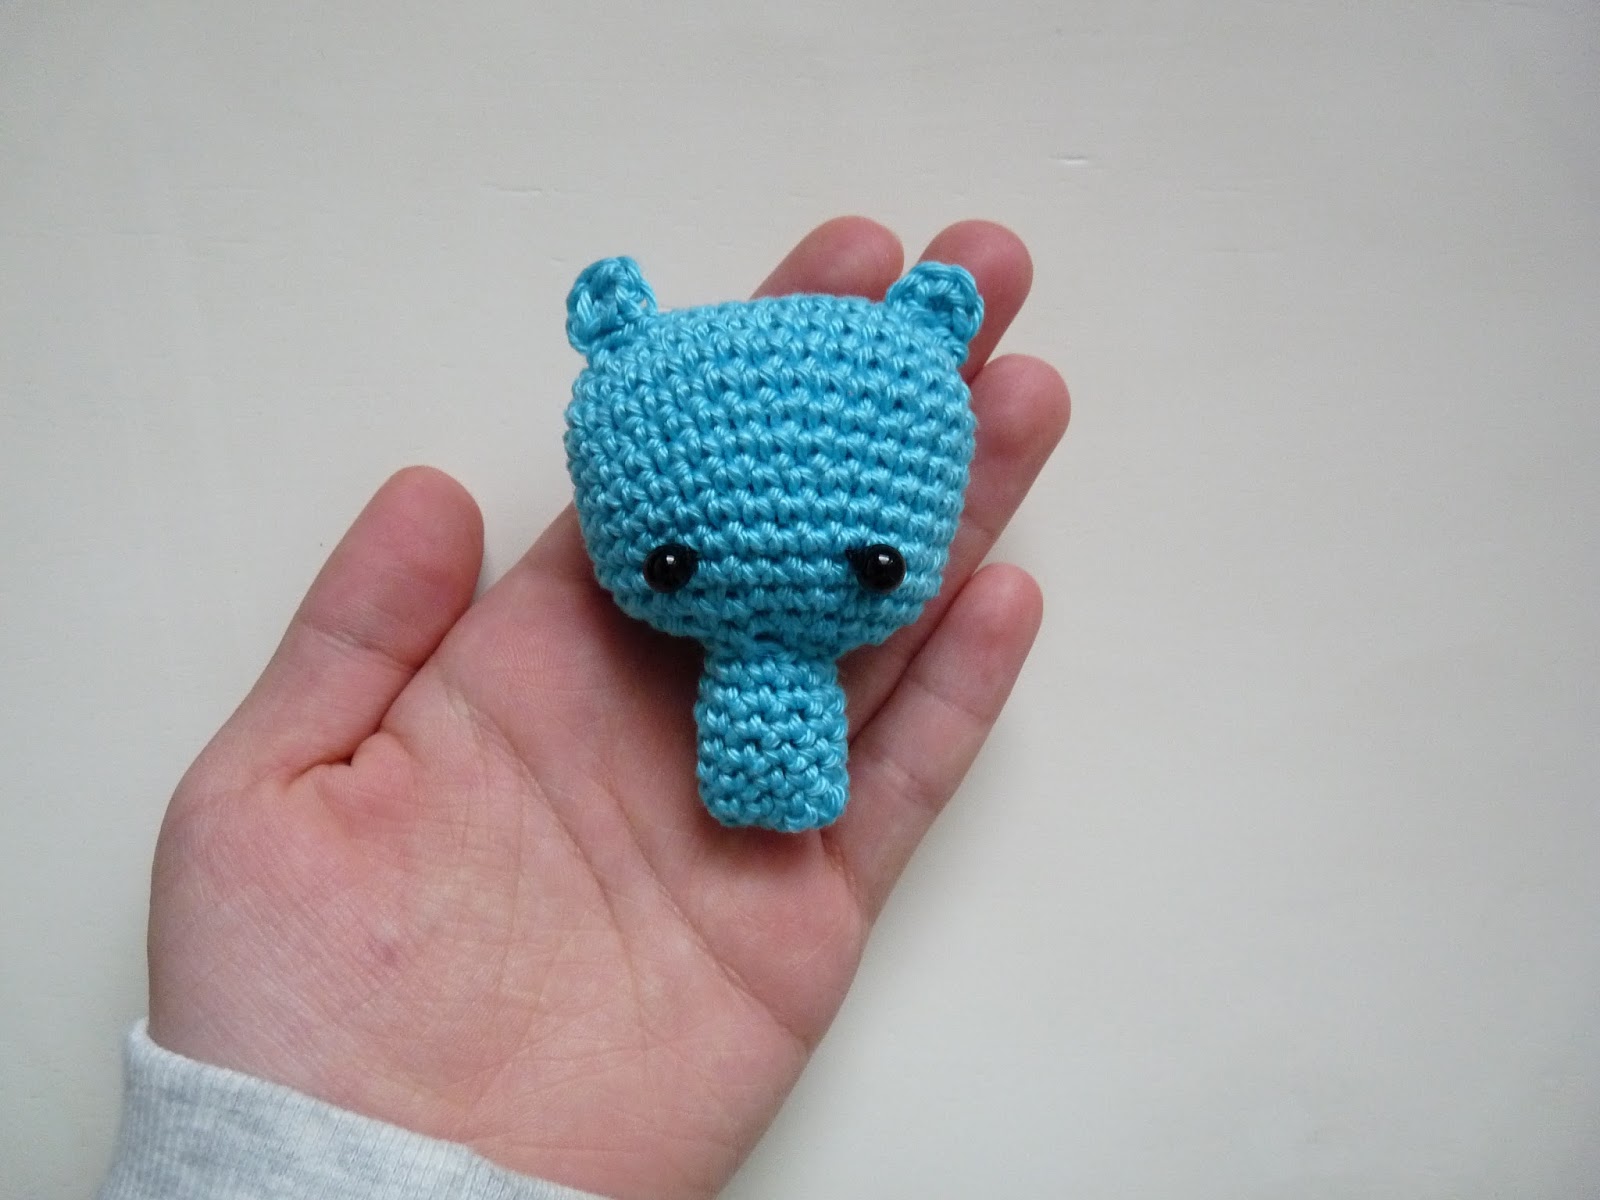
Before stuffing and closing up the head of my bear, I sewed on the bead eyes and was really happy with how they turned out!
Next, I stuffed the head and closed up the hole at the bottom
Then I weaved in all the loose ends.
Next, I made the body, stuffed it, and then sewed it to the bottom of the head.

Then, I made two tiny circles for the ears and sewed them on the top of the head.
To make sewing easier, I pinned the ears before sewing them on. Pinning the ears made it easier to sew the ears on with precision.

Almost done!! The last things to make are the limbs!
Arms done...
Then, I made the legs
To finish off the bear, I cut out an oval out of white felt for the belly and embroidered a little x at the bottom to be his belly button.
Then, I cut out a circle out of white felt and embroidered a straight line for my bear's nose.
Finally, I glued them to my bear with a glue gun

My bear is done!! I wanted to make my bear into a keychain, so I added a keychain with a snake chain. (I got my keychains from amazon.)
Then, I made two more bears! I made a dark blue and a green one

One
Two
Three!
That's it for today's post! I hope you all liked it. :) I have not yet named my bears, so if you have any suggestions, please let me know in the comments!

See you in another post!
Happy crocheting and crafting!
Anna

Saturday, September 17, 2016

Amigurumi Mermaid

A Little Mermaid was one of my older sister's favourite movies. She thought Ariel was the prettiest Disney princess. For her birthday, I made her a cute amigurumi mermaid. :)

To start, I used cream, green, light green, red, and dark purple yarn with my 2.00mm Clover Amour crochet hook. 

I wanted to crochet the head, body, and fish tail together as one piece I crocheted the head and worked down. 

After I crocheted the head, I crocheted the body/tail without binding off. 

To finish off the tail, I crochet the fin by making two triangles.

After I finished the head,body, and tail, I crocheted Ariel's arms and sewed them to her body.


Finally, to make her hair, I first grabbed some red yarn and embroidered the mermaid's bangs, then I made her hair by attaching multiple strands of red yarn to the head. After I was done, I trimmed the ends a bit because they were uneven. 


After weaving in the loose ends, I finished Ariel off with her purple seashell bikini top by embroidering it on her chest. Ariel is done! :D


Here is the pattern:

Materials

  • Cream(or beige), green, red, and purple yarn
  • 3.75mm crochet hook
  • Scissors
  • 9mm plastic safety eyes
  • Plastic needle
Head and Body
Ch2
Rnd 1: 6 sc in the 2nd ch away from hook.
Rnd 2: (inc in every st around.) 12 sts
Rnd 3: (sc 1, inc in the next st) rep around. 18 sts
Rnd 4: (sc 2, inc in the next st) rep around. 24 sts
Rnd 5: (sc 3, inc in the next st) rep around. 30 sts
Rnd 6: (sc 4, inc in the next st) rep around. 36 sts
Rnd 7-13: sc in every st around. 36sts
Rnd 14: (sc 4, dec) rep around. 30 sts
Rnd 15: (sc 3, dec) rep around. (24sts)
Rnd 16: (sc 2, dec) rep around. (18sts) 
Insert plastic safety eyes and stuff the head.
Rnd 17: (sc 1, dec) rep around. (12 sts)
Here we are going to start making the body
Rnd 18: (sc 1, inc in the next st) rep around. 18 sts
Rnd 19:(sc 2, inc in the next st) rep around. 24 sts
Rnd 20-22: sc in every st around. 24sts
Switch to green yarn
Rnd 23-31: sc in every st around. 24 sts
Rnd 32:(sc 2, dec) rep around. 18sts
Rnd 33: sc in every st around. 18sts
Rnd 34: (sc 1, dec) rep around. 12sts
Rnd 35: sc in every st around. 12 sts.
Stuff body
Rnd 36: (dec) rep around. 6sts
Rnd 37: sc in every st around. 6sts
BO 

Arms(make 2)
ch2
Rnd1: In the 2nd ch away from the hook, sc 8.
Rnd 2-8: sc in every st around. (8sts)
BO with long tail fro sewing. 

Fins (make 2) 
ch 2
Rnd 1: In the 2nd ch away from the hook, sc 6.
Rnd 2: sc in every st around. (6sts)
Rnd 3: (inc) Rep around. (12sts)
Rnd 4-6: sc in every st around. (12sts)
Rnd 7: (dec) rep around. (6sts)
Rnd 8: sc in every st around. (6sts)
BO with long tail for sewing. 

Finishing
Sew the arms to the body and sew the fins to the bottom of the tail. Embroider her bangs with red yarn, then attach multiple strands of red yarn to the top of her head (if you are having trouble attaching the hair to the head, here is a great tutorial http://www.thefriendlyredfox.com/2016/09/how-to-attach-hair-to-crochet-doll.html). Note: The hair on my Ariel is curly, because I used yarn from an unraveled project.  
Embroider several horizontal stitches to make her seashell bikini top.
Weave in all loose ends. 

Tada! Ariel is done!

I hope you enjoyed reading this post. I will see you in another post! 

Happy Crocheting and Crafting! 

Anna