Saturday, October 8, 2016

Christmas Project: Stockings!

Yes, I know it is wayyyy too early to think about Christmas, but I have always wanted to make Christmas stockings for my family. For the past 2 years, I have attempted to knit/crochet some, but always failed. However, this year I am determined to successfully knit 4 stockings(one for each family member) and stuff each one with mini gifts for my family.

To make the stockings, I decided to use chunky yarn and big knitting needles to make sure my stocking is extra big and sturdy. The yarn I am using is the same yarn I used to make my shrug sweater. 


I did not want to write or make up a pattern for the stockings since my knitting skills are not as advanced as my crocheting skills. So, I found this awesome pattern on Ravelry. It is originally supposed to be a stocking ornament, but I have already used this pattern to make baby socks. Since I am using chunky yarn and big knitting needles, the stocking will not be as small as it is supposed to be. Before knitting my stockings, I rolled the chunky yarn into one giant ball and one smaller ball.

To make the first stocking, I knitted it with the yarn and size 11 knitting needles. I love this patterns, because you knit the stockings flat, then sew it together at the end.
One stocking done!

To personalize my stockings, I cut out letters from black felt. For my dad, I cut and glued letters that spelled 아빠(abba). For my mom, I cut out 엄마(umma), 언니(unni) for my older sister, and 오빠(obba) for my older brother (good thing I don't have a younger sibling! Cutting out 남동생 or 여동생out of felt would have been a headache! :D)


To make a little loop on the top sides of the stockings to hang them, I just crocheted a chain of 20 sts and sewed it to my stockings. I finished knitting all four!
Then, I glued on the felt letters.


TADA! All done! I am planning on stuffing them with chocolates and other goodies for their Christmas gifts! I will update you what I put in them later. Now, I just have to hide these stockings somewhere till Christmas... :P

Till next post, Happy crocheting and crafting!
Anna

Saturday, September 24, 2016

BonBon Bears!!


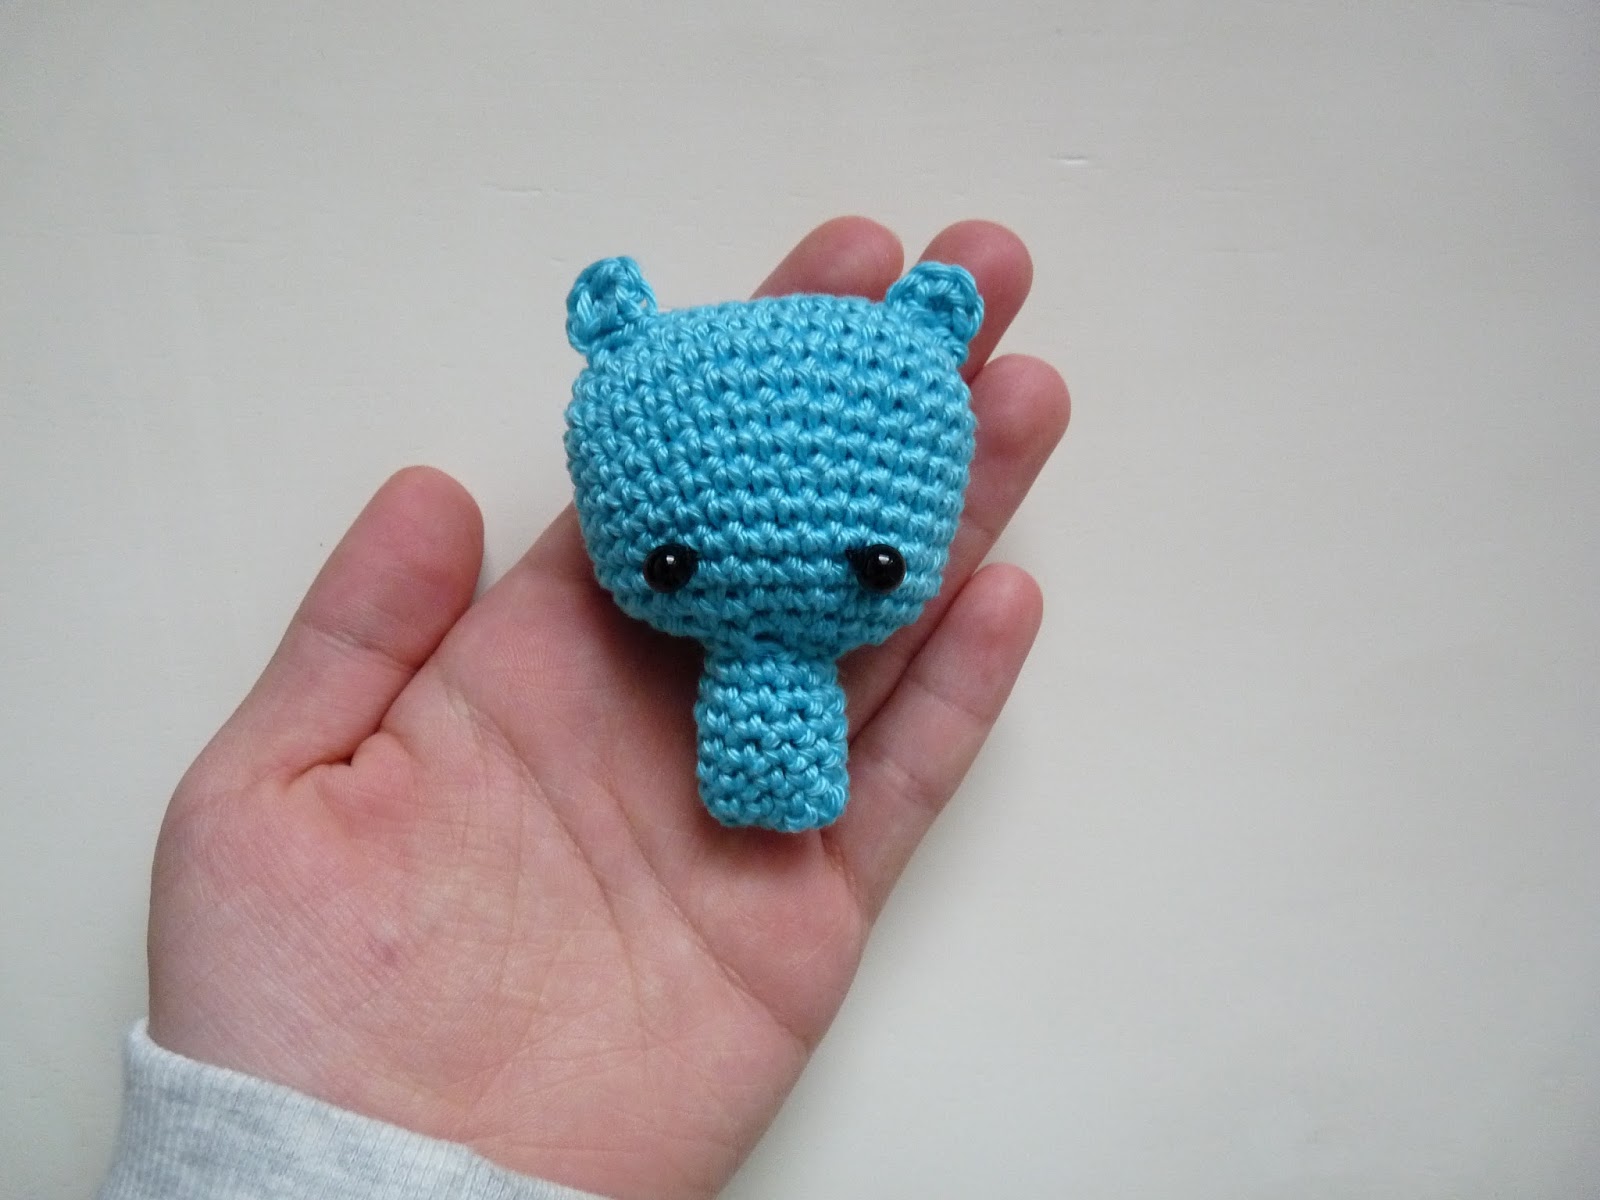
Stephanie Jessica Lau from AllAboutAmi.com released her new pattern for these adorable little bears! I love tiny teddy bears, and I knew I had to make these little guys. The yarn Stephanie used was Lion Brand's Bonbon Cotton yarn, but I decided to use my favourite yarn, Patons Grace mercerized cotton yarn in the colours Peacock, Ginger, and Azure with my 2.00mm Clover Amour crochet hook.

I recently ran out or plastic safety eyes, but I did have some black beads that I could sew onto my amigurumi to make eyes.
This was my first time sewing black beads as eyes as I am always using plastic safety eyes for my amigurumi since they are easier to attach.
To practice, I sewed on the beads to a scrap crocheted square
Before stuffing and closing up the head of my bear, I sewed on the bead eyes and was really happy with how they turned out!
Next, I stuffed the head and closed up the hole at the bottom
Then I weaved in all the loose ends.
Next, I made the body, stuffed it, and then sewed it to the bottom of the head.

Then, I made two tiny circles for the ears and sewed them on the top of the head.
To make sewing easier, I pinned the ears before sewing them on. Pinning the ears made it easier to sew the ears on with precision.

Almost done!! The last things to make are the limbs!
Arms done...
Then, I made the legs
To finish off the bear, I cut out an oval out of white felt for the belly and embroidered a little x at the bottom to be his belly button.
Then, I cut out a circle out of white felt and embroidered a straight line for my bear's nose.
Finally, I glued them to my bear with a glue gun

My bear is done!! I wanted to make my bear into a keychain, so I added a keychain with a snake chain. (I got my keychains from amazon.)
Then, I made two more bears! I made a dark blue and a green one

One
Two
Three!
That's it for today's post! I hope you all liked it. :) I have not yet named my bears, so if you have any suggestions, please let me know in the comments!

See you in another post!
Happy crocheting and crafting!
Anna

Saturday, September 17, 2016

Amigurumi Mermaid

A Little Mermaid was one of my older sister's favourite movies. She thought Ariel was the prettiest Disney princess. For her birthday, I made her a cute amigurumi mermaid. :)

To start, I used cream, green, light green, red, and dark purple yarn with my 2.00mm Clover Amour crochet hook. 

I wanted to crochet the head, body, and fish tail together as one piece I crocheted the head and worked down. 

After I crocheted the head, I crocheted the body/tail without binding off. 

To finish off the tail, I crochet the fin by making two triangles.

After I finished the head,body, and tail, I crocheted Ariel's arms and sewed them to her body.


Finally, to make her hair, I first grabbed some red yarn and embroidered the mermaid's bangs, then I made her hair by attaching multiple strands of red yarn to the head. After I was done, I trimmed the ends a bit because they were uneven. 


After weaving in the loose ends, I finished Ariel off with her purple seashell bikini top by embroidering it on her chest. Ariel is done! :D


Here is the pattern:

Materials

  • Cream(or beige), green, red, and purple yarn
  • 3.75mm crochet hook
  • Scissors
  • 9mm plastic safety eyes
  • Plastic needle
Head and Body
Ch2
Rnd 1: 6 sc in the 2nd ch away from hook.
Rnd 2: (inc in every st around.) 12 sts
Rnd 3: (sc 1, inc in the next st) rep around. 18 sts
Rnd 4: (sc 2, inc in the next st) rep around. 24 sts
Rnd 5: (sc 3, inc in the next st) rep around. 30 sts
Rnd 6: (sc 4, inc in the next st) rep around. 36 sts
Rnd 7-13: sc in every st around. 36sts
Rnd 14: (sc 4, dec) rep around. 30 sts
Rnd 15: (sc 3, dec) rep around. (24sts)
Rnd 16: (sc 2, dec) rep around. (18sts) 
Insert plastic safety eyes and stuff the head.
Rnd 17: (sc 1, dec) rep around. (12 sts)
Here we are going to start making the body
Rnd 18: (sc 1, inc in the next st) rep around. 18 sts
Rnd 19:(sc 2, inc in the next st) rep around. 24 sts
Rnd 20-22: sc in every st around. 24sts
Switch to green yarn
Rnd 23-31: sc in every st around. 24 sts
Rnd 32:(sc 2, dec) rep around. 18sts
Rnd 33: sc in every st around. 18sts
Rnd 34: (sc 1, dec) rep around. 12sts
Rnd 35: sc in every st around. 12 sts.
Stuff body
Rnd 36: (dec) rep around. 6sts
Rnd 37: sc in every st around. 6sts
BO 

Arms(make 2)
ch2
Rnd1: In the 2nd ch away from the hook, sc 8.
Rnd 2-8: sc in every st around. (8sts)
BO with long tail fro sewing. 

Fins (make 2) 
ch 2
Rnd 1: In the 2nd ch away from the hook, sc 6.
Rnd 2: sc in every st around. (6sts)
Rnd 3: (inc) Rep around. (12sts)
Rnd 4-6: sc in every st around. (12sts)
Rnd 7: (dec) rep around. (6sts)
Rnd 8: sc in every st around. (6sts)
BO with long tail for sewing. 

Finishing
Sew the arms to the body and sew the fins to the bottom of the tail. Embroider her bangs with red yarn, then attach multiple strands of red yarn to the top of her head (if you are having trouble attaching the hair to the head, here is a great tutorial http://www.thefriendlyredfox.com/2016/09/how-to-attach-hair-to-crochet-doll.html). Note: The hair on my Ariel is curly, because I used yarn from an unraveled project.  
Embroider several horizontal stitches to make her seashell bikini top.
Weave in all loose ends. 

Tada! Ariel is done!

I hope you enjoyed reading this post. I will see you in another post! 

Happy Crocheting and Crafting! 

Anna

Saturday, August 27, 2016

Chubby Pikachu Pattern

Let's make this adorable Pikachu together! He is super easy to make and is small enough to be an awesome keychain! :D 


To start you will need: Yellow, red, and black yarn
Materials

  • Yellow, black, and red yarn
  • 3.75mm crochet hook
  • Scissors
  • 6mm plastic safety eyes

Body
With yellow yarn
Ch2
Rnd 1: In the 2nd ch away from the hook, 6sc. (6sts)
Rnd 2: 2sc in every st around (12 sts)
Rnd 3: (sc1, 2sc in the next st) rep around. (18 sts)
Rnd 4,5,and 6: sc in every st around. (18sts)
Rnd 7: (sc 1, dec) rep around. (12 sts)
Add plastic safety eyes and stuff piece firmly. (Instead of inserting the eyes on the side of the body, you will be inserting the plastic eyes on the top of the body as the top of the body will be the face of the Pikachu.)
Rnd 8: (dec) rep around. (6sts)
BO

Ears (make 2)
Staring with black yarn,
Ch 2
Rnd 1: In the 2nd ch away from the hook, 4 sc. (4sts)
Rnd 2: (sc 1, 2sc in the next st) rep around. (6sts)
Switch to yellow yarn
Rnd 3,4, and 5: sc in every st around. (6sts)
BO with long tail for sewing.


Finishing:
Embroider nose and red cheeks onto the Pikachu. Sew the ears on the head. Weave in all ends.

Tada! You are done with your fat and adorable Pikachu! I hope you liked this pattern and I will see you another post! Byeeee

Happy Crafting and Crocheting!
Anna

Saturday, August 20, 2016

Chubby Pikachu

Look! A wild(and fat) pikachu has appeared!

It's a chubby pikachu! Pattern coming soon! :-)

Thursday, August 11, 2016

Minnie Mouse Beanie Pattern

Hey guys! It has been a while since I posted on my blog. This pattern has been in my drafts for a long time, and I never had the time out type out the pattern and post it. I recently finally finished it, so here it is! The Minnie Mouse Beanie pattern!
2008-05-13 13.02.25.jpg
Are you ready to make this adorable Minnie Mouse hat? Let’s get started!


Materials
  • Black yarn
  • 6.00mm crochet hook
  • Red yarn
  • Scissors
  • Plastic sewing needle
Hat
Ch 30
In the 2nd ch away from the hook, hdc. Hdc in every ch across.
Row 1-Desired length(I crocheted my hat until it measured 19 in from beginning): Ch2, turn, hdc in every st across. (Depending on the size of your head, you will crochet more rows to make the hat bigger, or you can crochet fewer rows to make the hat smaller.)
Bind off with a long tail for sewing and weaving in.


Ears (Make 4)
2008-05-01 13.47.57.jpg


Ch 3
Rnd1:In the 4th ch away from the hook, 6 hdc in the 3rd ch away from the hook. (6sts)
Rnd2: 2hdc in every st around. (12sts)
Rnd3: (hdc, 2hdc in the next st) repeat around. (18sts)
Rnd4: (hdc2, 2hdc in the next st) repeat around. (24 sts)
Bind off with long tail for sewing.

Bow
Ch 16
Row 1: In the 2nd ch away fro the hook, sc. Sc in the next ch and every ch across. (15sts)
Row 2-10: Ch 1, turn, sc in every st across.
BO with long tail for sewing.
To make the bow, pinch the rectangle in the center and wrap a long strand of red yarn around the center where you pinched the rectangle. 2008-05-01 13.48.21.jpg
2008-05-01 13.48.59.jpg
2008-05-01 13.50.23.jpg


Finishing
Fold the rectangle in half so that the ribbed pattern is vertical instead of horizontal, and sew the longer open side.
2008-05-01 13.51.11.jpg
2008-05-01 13.51.26.jpg
Next on the top hole, weave a long strand of black yarn around the brim and pull tightly to close the top.
2008-05-02 05.36.08.jpg

2008-05-02 05.36.30.jpg
(Optional: If the beanie is too long, fold the bottom up to create a rim.)


Take two of the ear circles and sew them together. Then, sew the sewn circles to the top of the head. Repeat for the other two circles.


Finally, sew the red bow to one of the ears. Weave in all loose ends.


Tada! You are done with your Minnie Mouse Beanie!! Enjoy!
2008-05-13 13.02.25.jpg

I hope you guys liked this pattern, and I will see you hopefully soon with a new post! :DD

Happy Crocheting and Crafting!