Isn't the moss stitch so pretty?
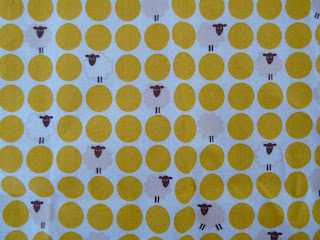
A few months ago, I took a sewing class with a friend from church and had leftover cloth from a previous sewing project. Isn't the pattern adorable? I love how you can see these adorable sheep and their butts. (lol)
So, I decided to use this cloth as my lining for my iPad cover.
I cut a long strip from the cloth and hemmed the ends with my sewing machine. Next, I sewed it to my crocheted strip with my sewing machine as well. Tada!
Next, I folded the cover in half and sewed the sides shut.
Tada!! My iPad cover is finished!!
This is the inside of the pouch:
That's it for today's post! Talk to y'all in my next one. Byeee!
Happy crocheting and crafting!
Anna


That's so cute! I seriously love that fabric lol. What is the moss stitch exactly? It looks like you stick the hook in a different spot on alternating stitches.
ReplyDeleteThanks, Praji! I can't really explain what the moss stitch is, but if you want a good tutorial and in-depth post about it, then try this link:http://www.mooglyblog.com/granite-stitch-moss-stitch/
DeleteI hope this helps! :)